Tips That Will Help Save You Money In The Long Run!

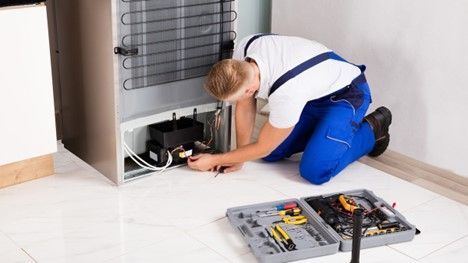
As a refrigerator repair professional, I can tell you that proper refrigerator maintenance is essential for increasing the lifespan of your refrigerator. The refrigerator is definitely the most used appliance in the kitchen and the largest energy consumer. Therefore, it's crucial to keep it clean and up to par in order to reduce energy consumption and keep it running efficiently.
Here are my five refrigerator maintenance tips that will help you reduce energy consumption and keep your refrigerator running smoothly:
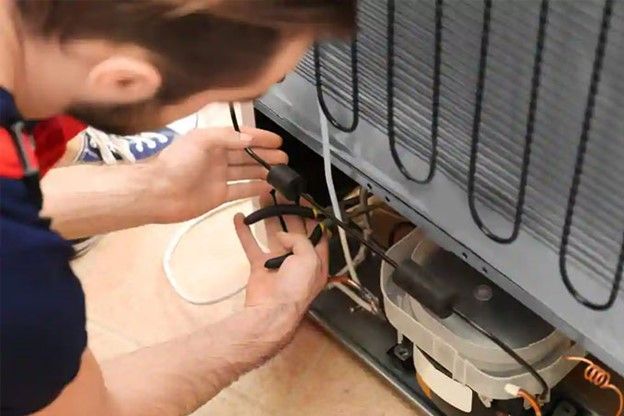
- Check the Door Seals: Ensure that the door seals are tight and free of any food remains. Clean the seals twice a year with a small brush and a mixture of baking soda and water. If cool air seeps out, then energy will be wasted, and the fridge will have to work harder. Check the seals with the dollar-bill test to make sure they are in good condition.
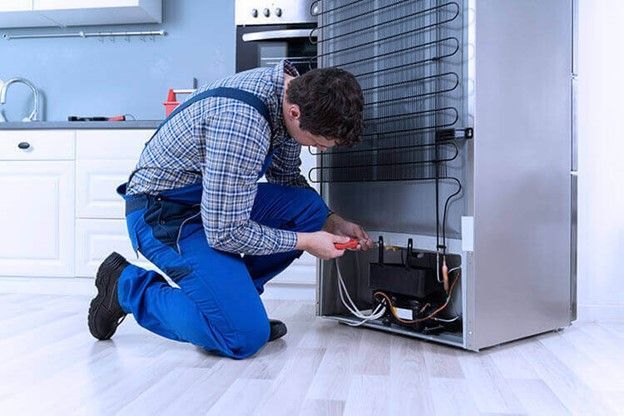
- Keep Coils Clean: Condenser coils release heat from the inside to the outside air. If these coils are covered in dust, then the refrigerator won't run efficiently. Clean the coils twice a year by pulling the machine away from the wall, unplugging the refrigerator, and vacuuming the coils with a brush attachment.
- Clean the Inside: Cleaning the shelves, doors, and walls of the refrigerator monthly can keep germs and bacteria from reaching the food. Clean up any spills immediately, and get rid of any expired or molding food.
- Check Temperature: Ensure that your refrigerator temperature is between 37- to 38-degrees Fahrenheit, and the freezer is at 0 degrees. Checking the interior temperature helps the refrigerator operate at its best.
- Keep It Full: Refrigerators require thermal mass to maintain low temperatures needed to keep food and drinks cold. When the refrigerator doors open, cool foods and drinks absorb warm air, making your fridge work harder. If your fridge is usually not filled, fill it with empty bottles to help with thermal mass.
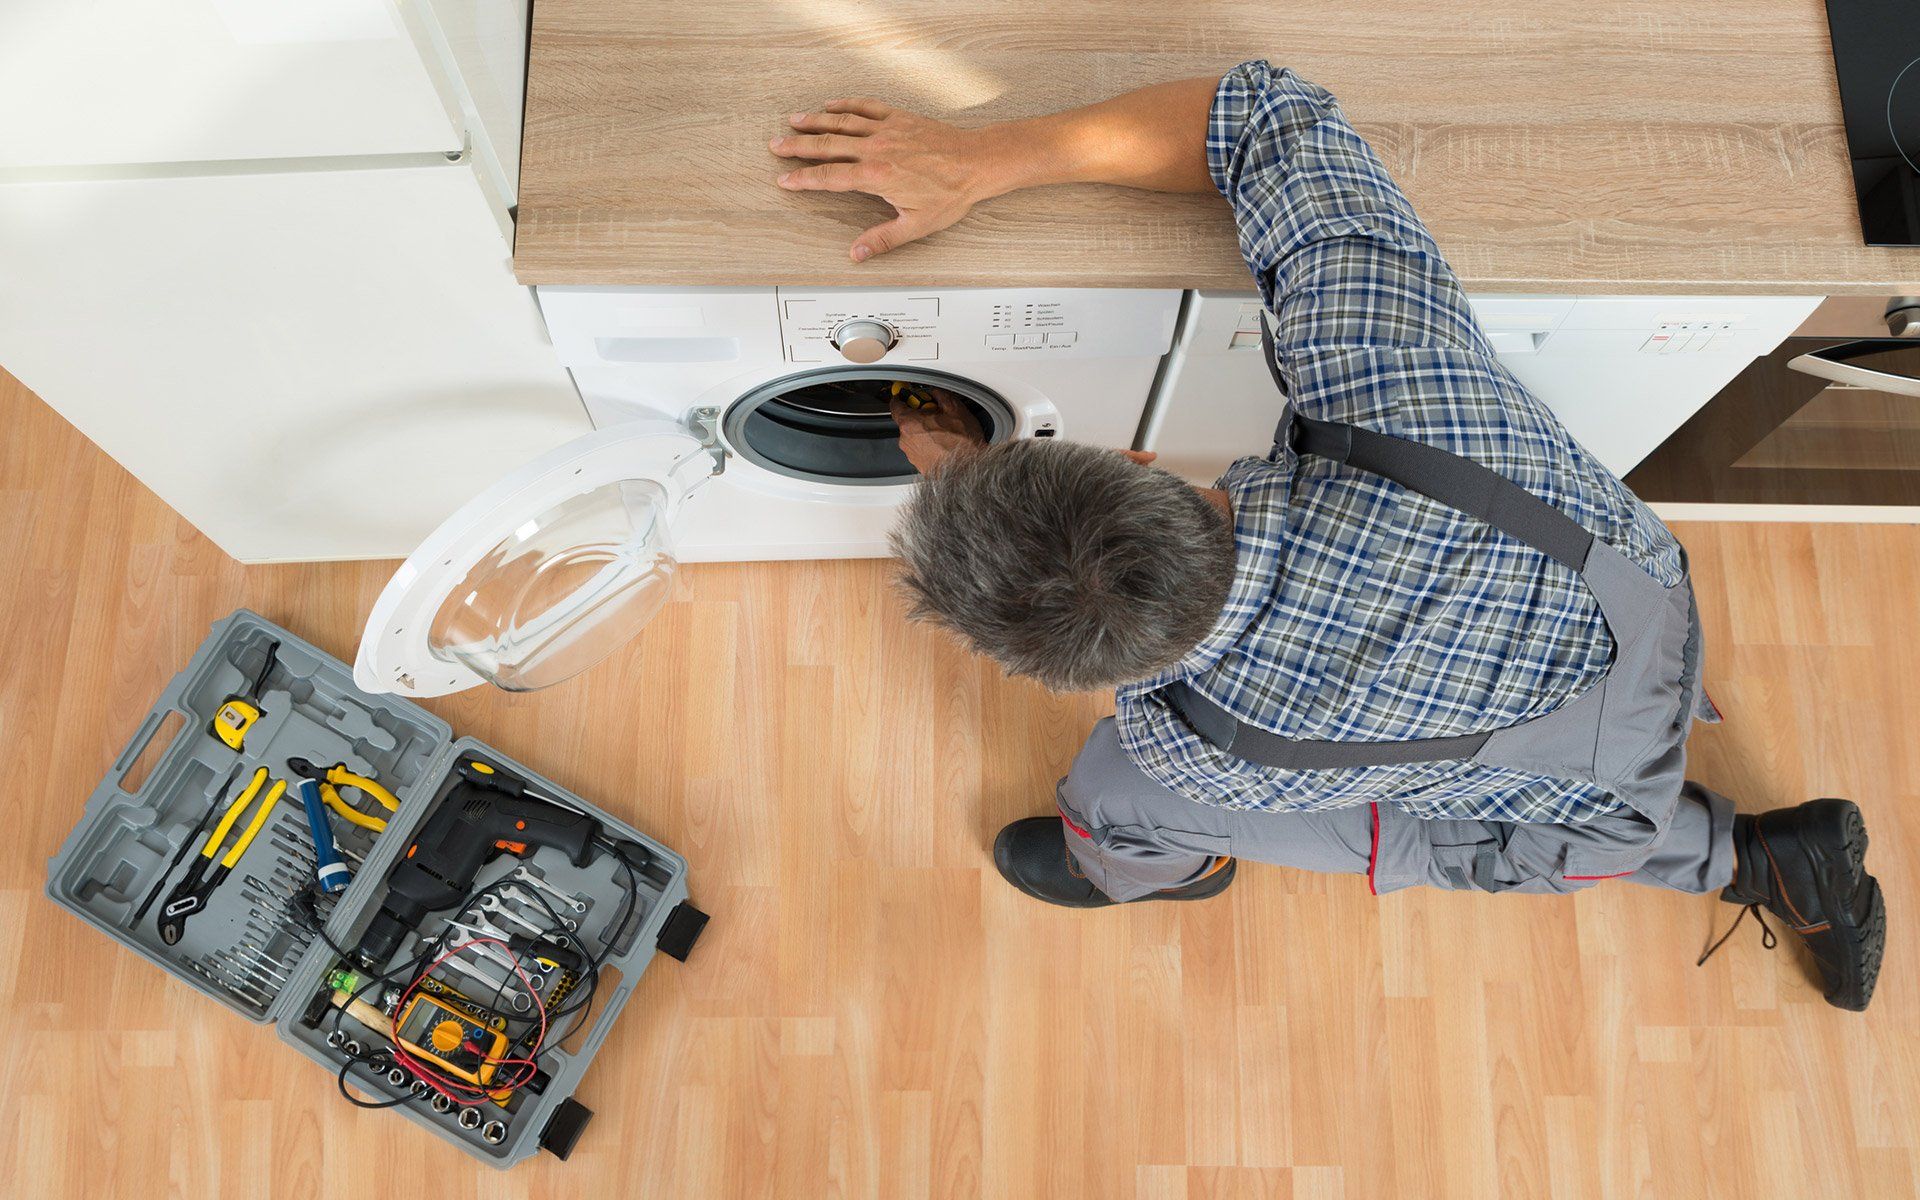
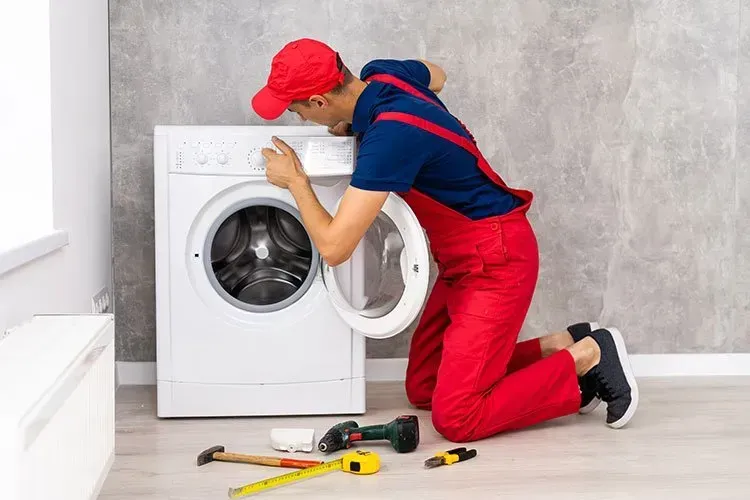
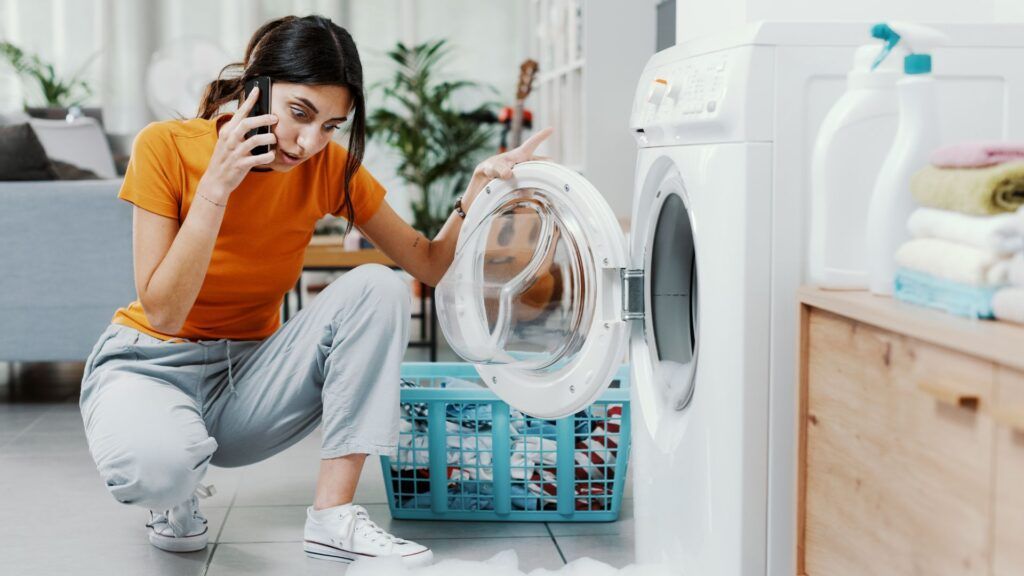
Maintaining your refrigerator properly is vital to keeping it running efficiently and reducing energy consumption. By following these five simple maintenance tips, you can help increase the lifespan of your refrigerator and save on energy bills. If following these tips doesn't fix your problems and you feel your fridge is still not cooling as it should, then call a handy refrigerator repairman like myself, and we we get you straightened all out!
Testimonials
These folks are the best! My oven stopped heating, and I was worried about the cost. They were quick, explained everything, and even gave me some handy tips. Five stars for sure.
James Faber
Jan 12, 2024
Couldn’t be happier with the service. My dishwasher was leaking, and they fixed it up perfectly. The whole process was smooth, and the tech was really nice. Highly recommend them!!
Jane Wilson
June 30, 2024
Wow, these guys are amazing! My fridge broke down right before a big family dinner, and they saved the day. The tech was super friendly and fixed it in no time. Definitely my go-to for any appliance issues!
Jeremy Johnson
July 10, 2024
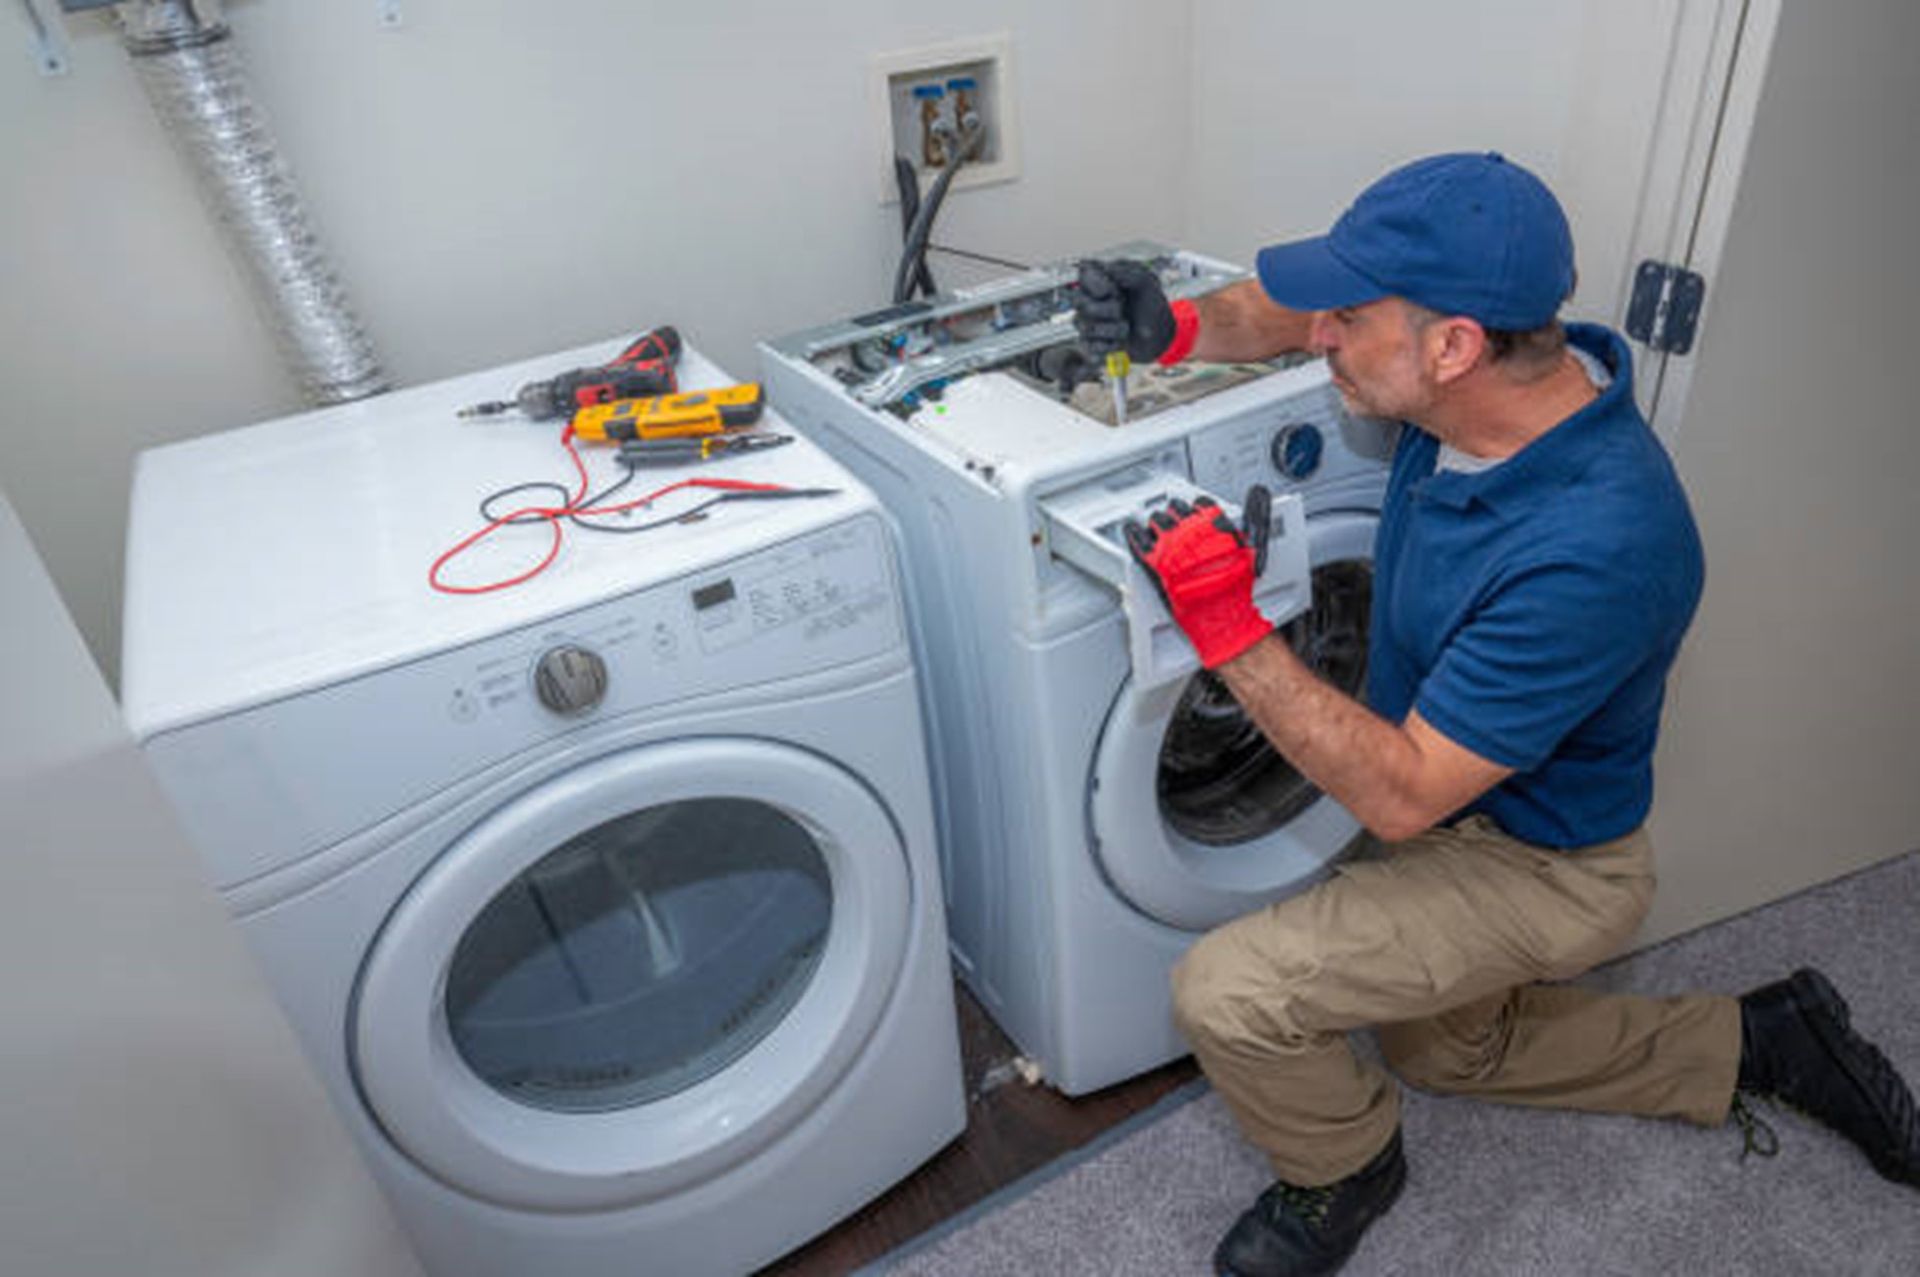
Had a great experience with this company. My washing machine was acting up, and they came out the same day I called. The technician knew exactly what to do and got it working again. Super happy with the service.
Michelle Brown
June 25, 2024